
Harness simplifies the CI/CD journey by offering a unified pipeline for software delivery, enabling ultra-convenient and fast transitions of microservices to the cloud with robust rollback capabilities. Its machine learning automates abnormality detection, freeing DevOps engineers from manual oversight and improving work-life balance.
If you’re just beginning your CI/CD journey, you’ve probably noticed that the market is a little saturated with tools, whether CI, CD, CI tools scripted into CD, full CI/CD tools, etc… But - you’re here, looking at Harness, so let’s assume you’re here to learn a bit more about the process of onboarding. You’re in the right place.
First Things First: Why Harness?
When it comes to software delivery, Harness does it all. From build to deployment verification and beyond, we’re right there helping you solve pain - all from a single, unified pipeline. Implementing Harness makes transitioning your microservices to the cloud ultra convenient and lightning fast. Additionally, Harness has robust rollback capabilities, making manual rollbacks that take multiple hours a thing of the past. No need to sit around and watch for any abnormality - Harness’ machine learning will take over and do that for you. By trusting our machine learning, your DevOps engineers will get their nights and weekends back - a key to proper work-life balance.
The Journey Begins…
So here you are, signed up for Harness, and bubbling with excitement. But you’re nervous too, as this is a completely new tool - and this is your very first service. Maybe you’re opting with the community edition of Harness. After all, this edition of Harness is free, comes with 100 deployments/day, and allows you to deploy 10 services. That’s a pretty good starting point for any engineer looking for an opportunity to learn and familiarize themselves with the product.
What on Earth Is a Delegate?
In order to ensure that Harness is able to talk to your clusters, you need delegates. Once you understand the concept of delegates, Harness becomes fairly straightforward.
Delegates are like worker nodes. These worker nodes, within the Kubernetes cluster, are used to run containerized applications and handle networking to ensure that traffic between the application across the cluster and from outside the cluster can be properly facilitated.
Documentation on Delegates
Be sure to read - maybe 2-3 times, because delegates definitely can be a little hard to understand at first - Harness’ documentation on delegates. For all you visual learners out there, here’s an amazing graphic:

Delegate Architecture
Now that I work at Harness, I’ve found out that this diagram is one of the most common ways to set up delegate architecture. You create and download your delegate for the Kubernetes cluster and install it inside your container. Voila!

Number of Delegates
Depending on the number of services/service instances you deploy, you’ll have to plan the number of delegates. Note that you can always add more later.
The general rule of thumb is: 1 delegate per 300-500 executions or Continuous Delivery tasks
Delegate Permissions
Every tool or connector the delegate needs to talk to will need to be given permissions. Your delegate doesn’t automatically know where things live. Here is a quick cheat sheet for you.
Delegate Profiles
Harness’ UI is fairly intuitive on delegate profiles. Harness also has amazing documentation on the common delegate profile scripts.
These delegate profile scripts are a way of customizing Harness to make it work for your use case. For example, if you want to deploy infrastructure using Terraform, you can create a delegate profile with the scripts Harness provides.
Real-World Example
Harness delegate profiles are like shopping online at “Your Favorite Store” (it’s Amazon, isn’t it?!). There are some similarities! Let’s say you found the perfect gift for your friend at “Your Favorite Store.” Now, to make sure that the gift reaches your friend, you have to give “Your Favorite Store” an address (I’m getting to the point). If you’re going to send gifts regularly to that friend, you have to create a profile with your friend’s address - and every time you need to send something to that friend, you can quickly send it with one click.
Come to think of it, “Your Favorite Store” is a delegate. You are delegating the job of packing and sending the gift to “Your Favorite Store.”
Connecting Everything Else

Next, connect an artifact repository, which is pretty straightforward.
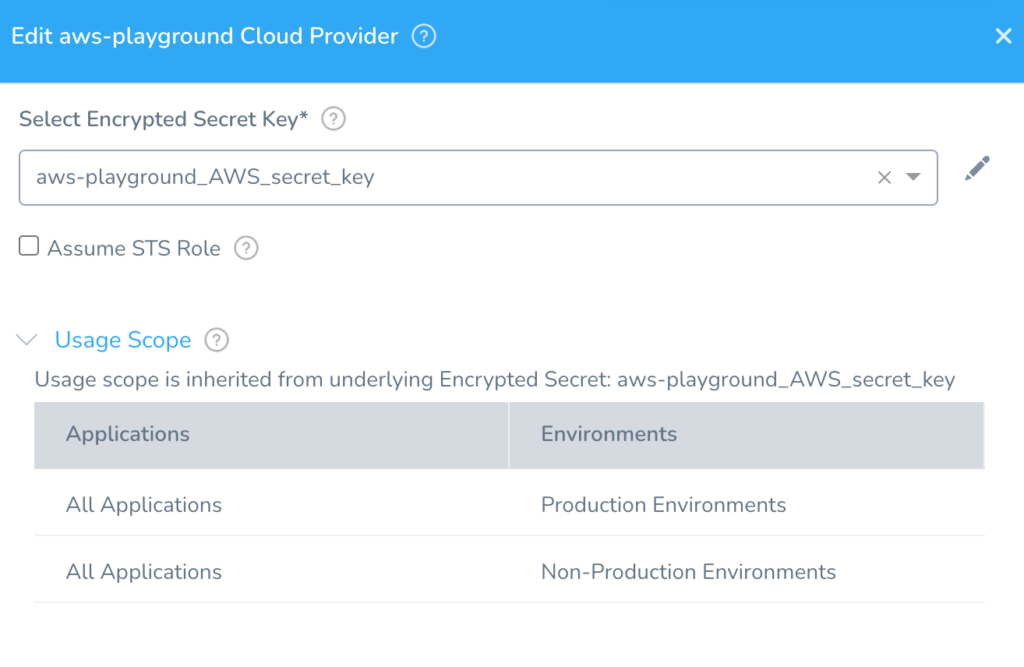
Then, connect your cloud provider. In this case, we use Kubernetes AWS.
Go ahead! Connect everything you know you use.
What Will Be Your First Deployment Type?
Choose your deployment type. Canary is the first one that comes to mind, but for your first service, I recommended picking a basic deployment. Nothing fancy. This is where all the pieces start to come together! Here is a link to the documentation on workflows.

Onboarding Tips
- As soon as I log into Harness, I click the Setup button. That’s where all the good stuff lives. Here is a screenshot:

- All the connectors are located over on this side of the panel.
- Deploy a simple workflow first, from start to finish. Baby steps! Don’t try and spend too much time creating the best architected workflow in the world on your first try.
- The tool is mega-powerful once you figure out where everything is, which will be fairly quick since the UI is so intuitive. Then, you can start adding all the bells and whistles.
Harness Resources
As you onboard your services, it’s important to know that there are plenty of resources available for your team to learn as well.
Now that you’ve deployed your first service with Harness using workflows, you can dive into other cool features our tools boast:
- Build a pipeline.
- Add approvals.
- Templetize your workflow and pipelines.
- Give access based on roles (RBAC).
- Set up Continuous Verification.
- Automate rollbacks.
- Learn how to do Canary deployments.
- Add feature flags into the mix.
- Set up secrets.
The list goes on!
Conclusion
We are excited that you selected Harness for your CI/CD journey. We hope this blog was useful for you in learning the important steps to take before deploying your first service. To learn more, here are a couple must-reads:
Blue-Green vs. Canary Deployments
What Is a Containerized Pipeline?

All this author’s posts
Ruchira Bajaj is a results-driven, customer-focused and hands-on entrepreneur with experience leading on-boarding, sales, customer sign-ups and renewals, engagement and adoption initiatives.