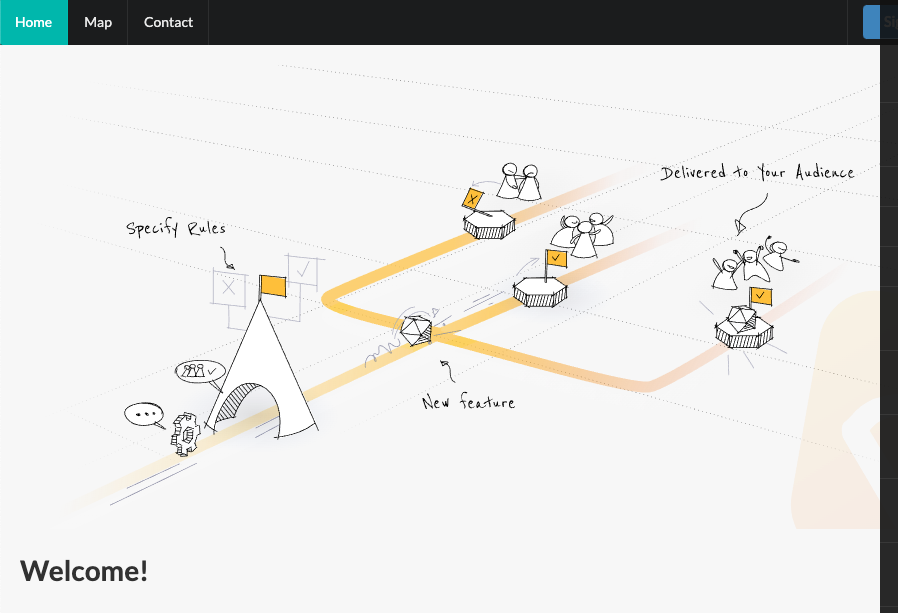
Harness Feature Flags enable dynamic content delivery in Python applications, allowing developers to toggle features without code changes, enhancing user experience and enabling rapid experimentation.
There are many surveys and measures of the most popular programming languages, but a common thread across every single ranking is Python as one of the most in demand languages. It’s a beginner-friendly language, the default language of data science, and in general, one of the most pragmatic languages available for software development. If you’re new to Python, or a seasoned developer who wants a quickstart to using Harness Feature Flags in your codebase, this is for you!
Prerequisites
Download and install PyCharm CE (be sure to select the community edition if you don’t want to create an account). Your IDE of choice will generally work, but my directions and screenshots will be specific to the experience of PyCharm.
It is recommended that you have some experience with Python, but it is a very friendly language that’s not hard to work with if you’re already familiar with another language. All code snippets below are contained within this gist, so if you hate copy/pasting with code blocks on a blog, I got you.
Warning: Whitespace and indentation matters in Python, so copy/paste carefully.
Another Warning: Copy/pasting with quotes may cause issues with encoding, so if your IDE shows errors on lines with quotes, try removing and re-adding quotes.
Tutorial
Create a new project with Python 3 (I am using 3.8.2 in this example):

If a file main.py is automatically created in the project, delete it before proceeding.
In the terminal, clone the repo and run the setup steps:
# Clone the repo, move the files around and clean up the folder
git clone https://github.com/chrisjws-harness/flaskSaaS.git && mv flaskSaaS/*(DN) . && rm -rf flaskSaaS

# Set up the application
make install && make dev
python manage.py initdb


Set Up Feature Flags SDK
In requirements.txt, add a new line at the bottom, `harness-featureflags==1.0.5` Install updated requirements from the terminalip3 install -r requirements.txt

Add the following import statement to the top of `app/views/main.py`:
from featureflags.client import CfClient, Target
Add these lines below the import statements in app/views/main.py, and add your account id:
meta = {
            "account": "<your account id here>",
            "org": "default",
            "environment": "PyCharm",
            "project": "Python_FF"
        }

Set Up Your Feature Flags Project
In Harness, create a new project. Mine will be called Python FF.

Navigate to Environments (left sidebar) and click “Create an Environment.”
Name your environment “PyCharm,” leave it as “Non-Production” and click “Create.”

From your new environment, click “Add Key.”
Name as “my_key” and leave “Server” selected. Click “Create.”
Copy your token on the resulting page and save somewhere secure. This token will not be available once you navigate away.
Navigate to Feature Flags (Above “Targets” on the left-hand side).
Click “+ Flag” to create your first flag.
Select “Multivariate,” name the flag “message” and give it a description (optional). Click “Next.”

Provide the following messages as name, value pairs, set default rules with different messages for off and on, and click “Save and Close.”

Wire Up Your Feature Flag
In app/views/main.py, find the comment “Feature flags init goes here!” and add the following below. Replace <your key> with the key you generated for the environment:
try:
        api_key = "<your key>"
        cf = CfClient(api_key)
        ff_identifier = "guest"
        ff_name = "guest"
        target = Target(identifier=ff_identifier, name=ff_name, **meta)
    except Exception as e:
        print(e)
In the same file, add the following below the comment “Flag goes here!”:
flags["welcome_text"] = cf.string_variation("message", target, "default message")

Try Your Feature Flag
In the CLI, run the below command:
python manage.py runserver
In your browser, navigate to http://localhost:5000, where you’ll see your flag off message. Feature flags may take a moment to initialize, so you may have to refresh the page.

Toggle the flag for ‘message’ to True.

Refresh the page and see the message update on the homepage:

Magic!
What’s Next?
You’ve done most of the work already. Create a flag in the UI, and add the corresponding statements in the code. A few things to explore next to better understand Feature Flags in Python:
- Check out the full Python docs here: Python SDK reference and here: GitHub.
- Use “bool_variation” instead of string variation.
- Add additional rules for how the flag is served.
- We passed back a simple identifier for guest, but see what happens when you recognize other users and serve different behavior based on identity and attributes.
- Explore RBAC and how you can restrict what a user can do within Feature Flags.
See you next time!
-Chris
