.webp)
Microservices architecture enables scalable, independent service deployment, improving development agility and system resilience. Harness Continuous Delivery simplifies deploying microservices on Kubernetes, demonstrating a successful deployment of a Node.js microservice calculating distances between zip codes.
When it comes to modern software development, microservices are one of the hottest trends. These small, standalone software services allow developers to build and deploy smaller code chunks that can be updated more frequently and respond faster to user needs. In addition, with microservices, teams can update individual services on their own schedule instead of waiting for a new version of the entire application or OS upgrade. Each service is also much smaller, making it easier to understand, test, document, and maintain. Moreover, microservices help you address any challenges that may arise during development.
This blog post will explain what microservices are, why you should use them, their benefits, and how to deploy them using Harness.
What is a Microservice?
A microservice is a small, autonomous software service inside a larger application. Traditional monolithic applications are comprised of modules built as one piece in a single codebase. In a microservices-based architecture, services are designed as independent and modular pieces and can be deployed separately. Each microservice typically handles one specific business function and is built, deployed, and managed independently

Image credit: microservices.io
While there are many different definitions of what a microservice is, there are a few characteristics they all possess:
- Decoupled and autonomous -- It doesn’t rely on other services to do its job.
- Lightweight -- It’s focused on doing one thing well so that it can be maintained and developed easily.
- Stateless -- It doesn’t retain any data between requests.
- Loose coupling – It doesn’t rely on other services to do its job
- Modular – It can be used as a building block for other services.
- Scalable – It can be scaled independently
- Shippable – You can build and deploy it independently from other services
Why Use Microservices?
As we mentioned earlier, these small services can be updated more frequently. This is especially advantageous when the requirements often change, new features need to be added, or if a particular service becomes bogged down with lots of requests and needs an upgrade. With microservices, teams can update individual services on their own schedule instead of waiting for a new version of the entire application or OS upgrade.
Another reason to use microservices is that they help you address new challenges in software development, such as scalability, continuous integration (CI), deployment, and maintenance. Let’s look at each of these challenges in more detail.
Microservices Enable Scalability
Scalability is the ability of a system, application, or process to handle increased amounts of work. When an application’s user base grows, you need to be able to add more servers to scale up the system so it can handle the increased load. You’ll need to add more servers when the application’s user base grows because the app can only handle so much work before it slows down or stops working completely.
With microservices, you can scale each service independently. You don’t have to add more servers to the entire application; you can just add more servers for the specific service that’s getting hit the hardest. This approach is known as sharding and is often used in database systems like Oracle, Postgres, and MySQL to scale out systems.
Microservices Support CI
CI is the practice of building and testing new code regularly. When you’re consistently testing code, you can catch bugs and other issues before they release into production. The CI process often includes versioning, dependencies, code quality metrics, and other tools that help your team build software better and faster. icroservices are best used to design your application so that you can easily integrate and test each service independently. This is often referred to as “service-driven development.”
Microservices Deployment
Deployment is the process of moving your application from your development environment to your production environment. You should design your application with microservices in mind so that each service is easy to deploy. With microservices, you can easily move each service between environments or update one service without affecting other services.
Tutorial
Let’s build a node.js microservice to know the distance between two zipcodes.
Create an app directory to store your application code and use the command npm init -y to initialize the project. Then, let’s add the main application code in the server.js file.
const express = require('express')
const app = express();
const port = process.env.PORT || 3002;
const routes = require('./api/routes');
routes(app);
app.listen(port, function() {
console.log('Server started on port: ' + port);
});
Let’s define routes and controller logic. First, create a new folder by the name api inside your root folder to hold our routes and controller logic.
The complete project folder structure is below:

Inside the api folder, create two files - controller.js and routes.js.
Add following code into the routes.js file:
'use strict';
const controller = require('./controller');
module.exports = function(app) {
app.route('/about')
.get(controller.about);
app.route('/distance/:zipcode1/:zipcode2')
.get(controller.getDistance);
};
Add the following code into the controller.js file:
'use strict';
var properties = require('../package.json')
var distance = require('../service/distance');
var controllers = {
about: function(req, res) {
var aboutInfo = {
name: properties.name,
version: properties.version
}
res.json(aboutInfo);
},
getDistance: function(req, res) {
distance.find(req, res, function(err, dist) {
if (err)
res.send(err);
res.json(dist);
});
},
};
module.exports = controllers;
Now, it is time to write some code to handle the external API. We will use zipcodeapi.com to calculate the distance between two locations with pincodes. Go to https://www.zipcodeapi.com and get the api key.

Now, create a new folder inside the root folder and name it service. Inside the service folder, create a new file named distance.js and add the following code:
var request = require('request');
const apiKey = process.env.ZIPCODE_API_KEY || "DemoOnly00xM8GfwlIQE2Jf2FneBr1uZBPGCw3W8DzyZjKoPaVCRGamRCaclrpVR";
const zipCodeURL = 'https://www.zipcodeapi.com/rest/';
var distance = {
find: function(req, res, next) {
request(zipCodeURL + apiKey
+ '/distance.json/' + req.params.zipcode1 + '/'
+ req.params.zipcode2 + '/mile',
function (error, response, body) {
if (!error && response.statusCode == 200) {
response = JSON.parse(body);
res.send(response);
} else {
console.log(response.statusCode + response.body);
res.send({distance: -1});
}
});
}
};
module.exports = distance;
Now, go to the main folder of the application and start the application by using the command npm start.
Go to your https://localhost:3002/about and you should see the name of the folder and version.

Next, check our next route i.e distance. Go to https://localhost:3000/distance/pincode1/pincode2
Add pincode1 and pincode2 and you should see the distance between these two zip code areas.
Example is below,

Try again to find the distance between two zip codes - 35004 and 86556.

So, we have successfully built a simple microservice to know the distance between two zip codes.
Deploy the Application Using Harness:
Harness is a modern software delivery platform that helps organizations easily deploy their applications. We will now see how we can deploy this application on Kubernetes using Harness.
Pre-requisites
- Free Harness Continuous Delivery account
- Access to a Kubernetes cluster. You can also use Minikube or Kind.
The first thing we need to do is to dockerize our application using a Dockerfile. Let’s write a simple Dockerfile for our application.
FROM node:14-alpine AS development
ENV NODE_ENV development
# Add a work directory
WORKDIR /app
# Cache and Install dependencies
COPY package.json .
RUN npm install
# Copy app files
COPY . .
# Expose port
EXPOSE 3002
# Start the app
CMD [ "npm", "start" ]
Using the below command, build the Docker image:
docker build -t microservices-app .
Run the Docker image with the following command:
docker run -p 3000:3000 microservices-app
Build the image again using DockerHub credentials:
docker build -t pavansa/microservices-app .
Now, push the image to Docker Hub using the below command:
docker push pavansa/microservices-app

Now that we have pushed our application as an image to Dcoker Hub, we can deploy the application on Kubernetes using Harness CD module.
But before, we need to create Kubernetes manifest files deployment.yaml and service.yaml to deploy our application.
Let’s create deployment.yaml file.
apiVersion: apps/v1
kind: Deployment
metadata:
labels:
app: microservice-app
name: app-deployment
spec:
replicas: 2
selector:
matchLabels:
app: microservice-app
template:
metadata:
labels:
app: microservice-app
spec:
containers:
- image: pavansa/microservice-app
name: app-deployment
ports:
- containerPort: 3000
Push the application code to a new GitHub repository.
Signup for the Harness platform and opt for the CD (continuous delivery) module.

Set up the required connectors, such as Docker Hub, GitHub etc and the delegate.

The Harness Delegate is a tool you need to install and run on the target cluster (Kubernetes cluster in our case) to connect your artifacts, infrastructure, collaboration, verification and other providers with the Harness Manager. When you set up Harness for the first time, you install a Harness Delegate.
Configure a simple pipeline for your application. This is where you will define service, infrastructure, execution type.
A service represents what you are deploying, like a Kubernetes manifest and a Docker image of your microservice. Infrastructure tells Harness where you're going to deploy your application. Execution is how this stage deploys its service to its infrastructure.
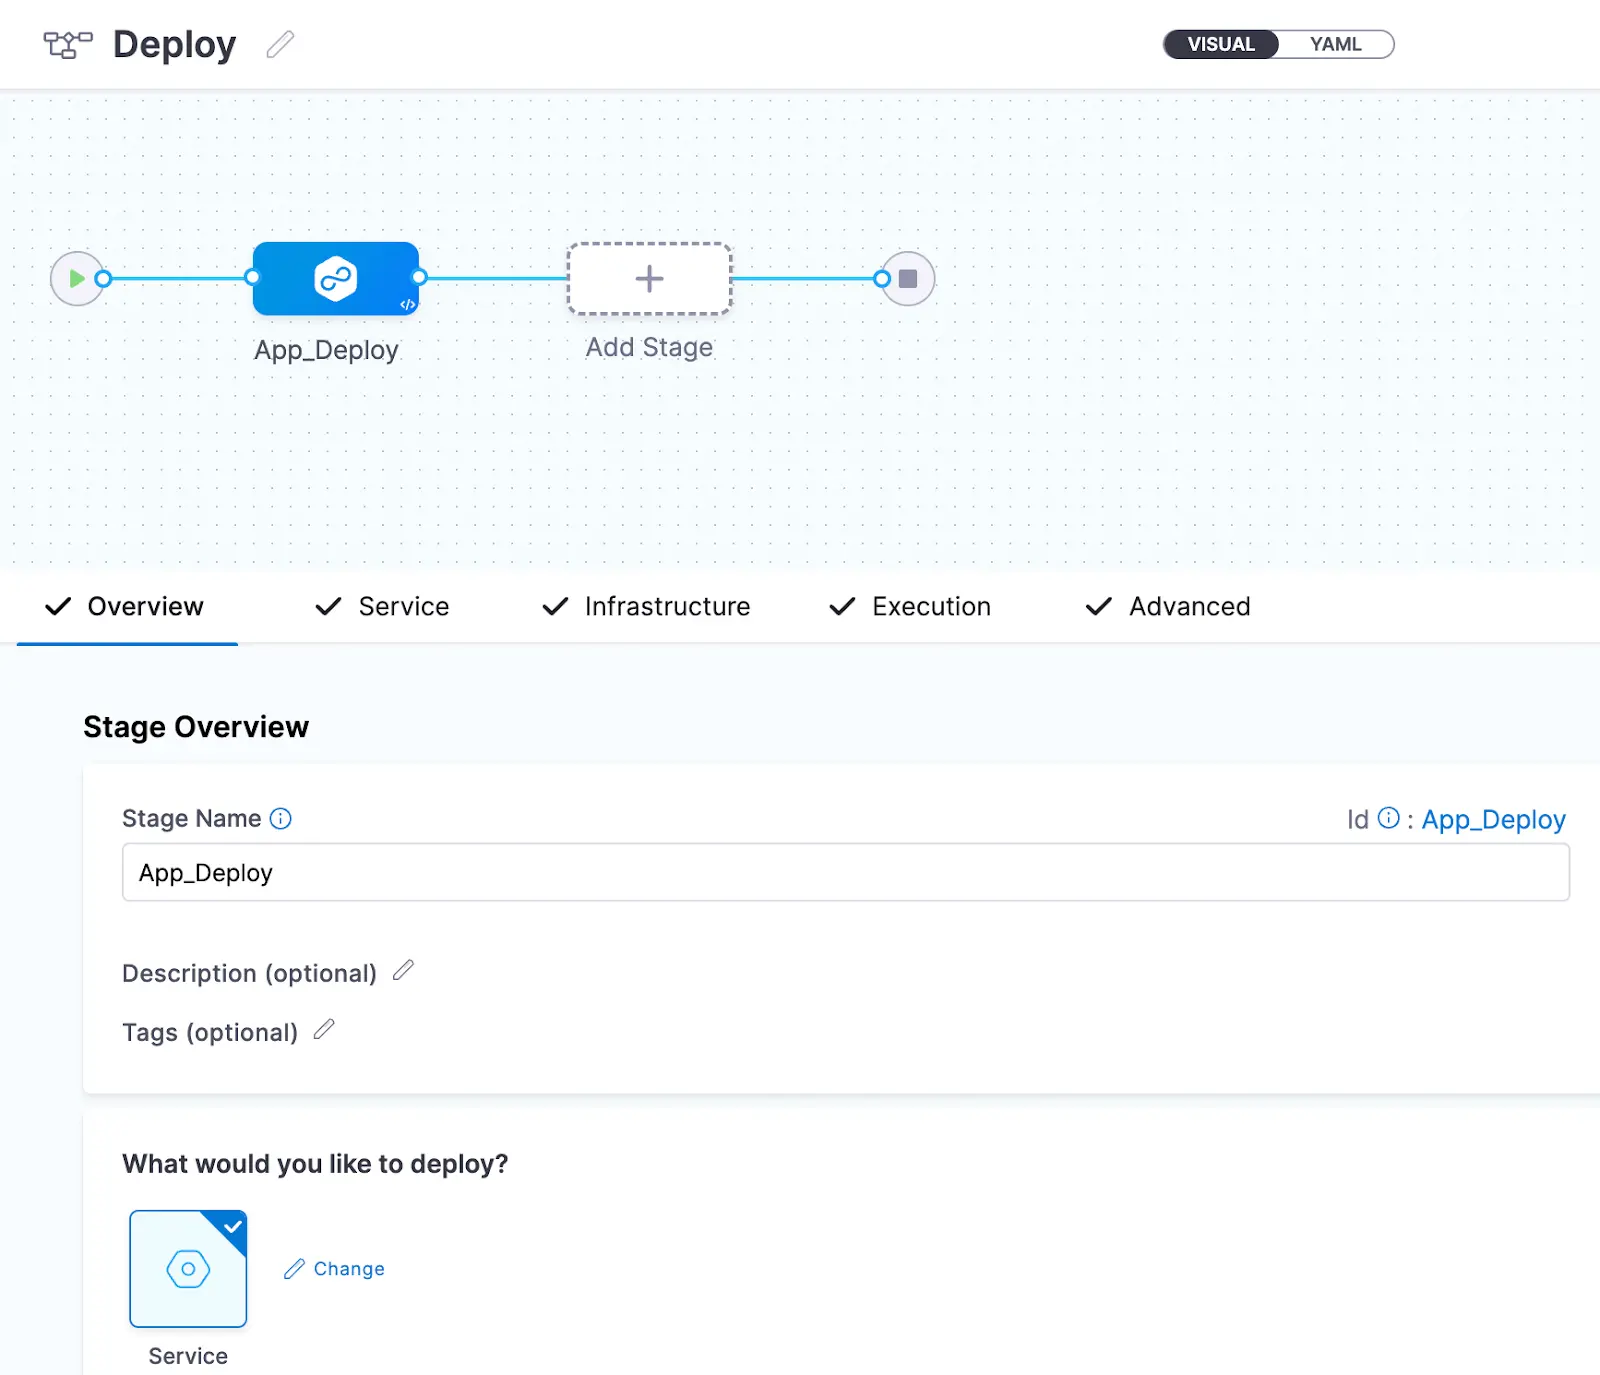
Make sure you have configured everything properly, save and run the pipeline to deploy your application onto Kubernetes.

You should see a successful deployment message.

Congratulations! We successfully built a node.js microservice and deployed it on Kubernetes with the help of Harness CD.
Pros and Cons of Microservices
Ultimately, the pros and cons of using microservices will depend on your particular situation. However, in general, microservices are excellent for large and complex applications that need to scale. Therefore, they are often used in conjunction with containers and service-oriented architecture. On the other hand, microservices are not always valid for small applications. However, microservices are suitable for both large and small applications, and their usefulness depends on how they are implemented.
Microservices are the new trend in modern software development. They allow developers to build and deploy smaller, more independent code chunks that can be updated more frequently and respond better to user needs. While there are many different types of microservice architectures, we recommend that you choose a microservices architecture that makes sense for your business and technology stack.
Check out how Harness and microservices can take your application to the next level!

All this author’s posts
Pavan is an award winning developer evangelist.